

8-1/2" x 5-1/2" Cardstock (Base)
4" x 5-1/4" Designer Paper (Front)
4-1/2" x 3-1/2" Cardstock (Insert)
Papercutter
Scoring Tool
Adhesive (Snail and Sticky Strip)
Paper, Punches, Stamps, Embellishment for Decorating!


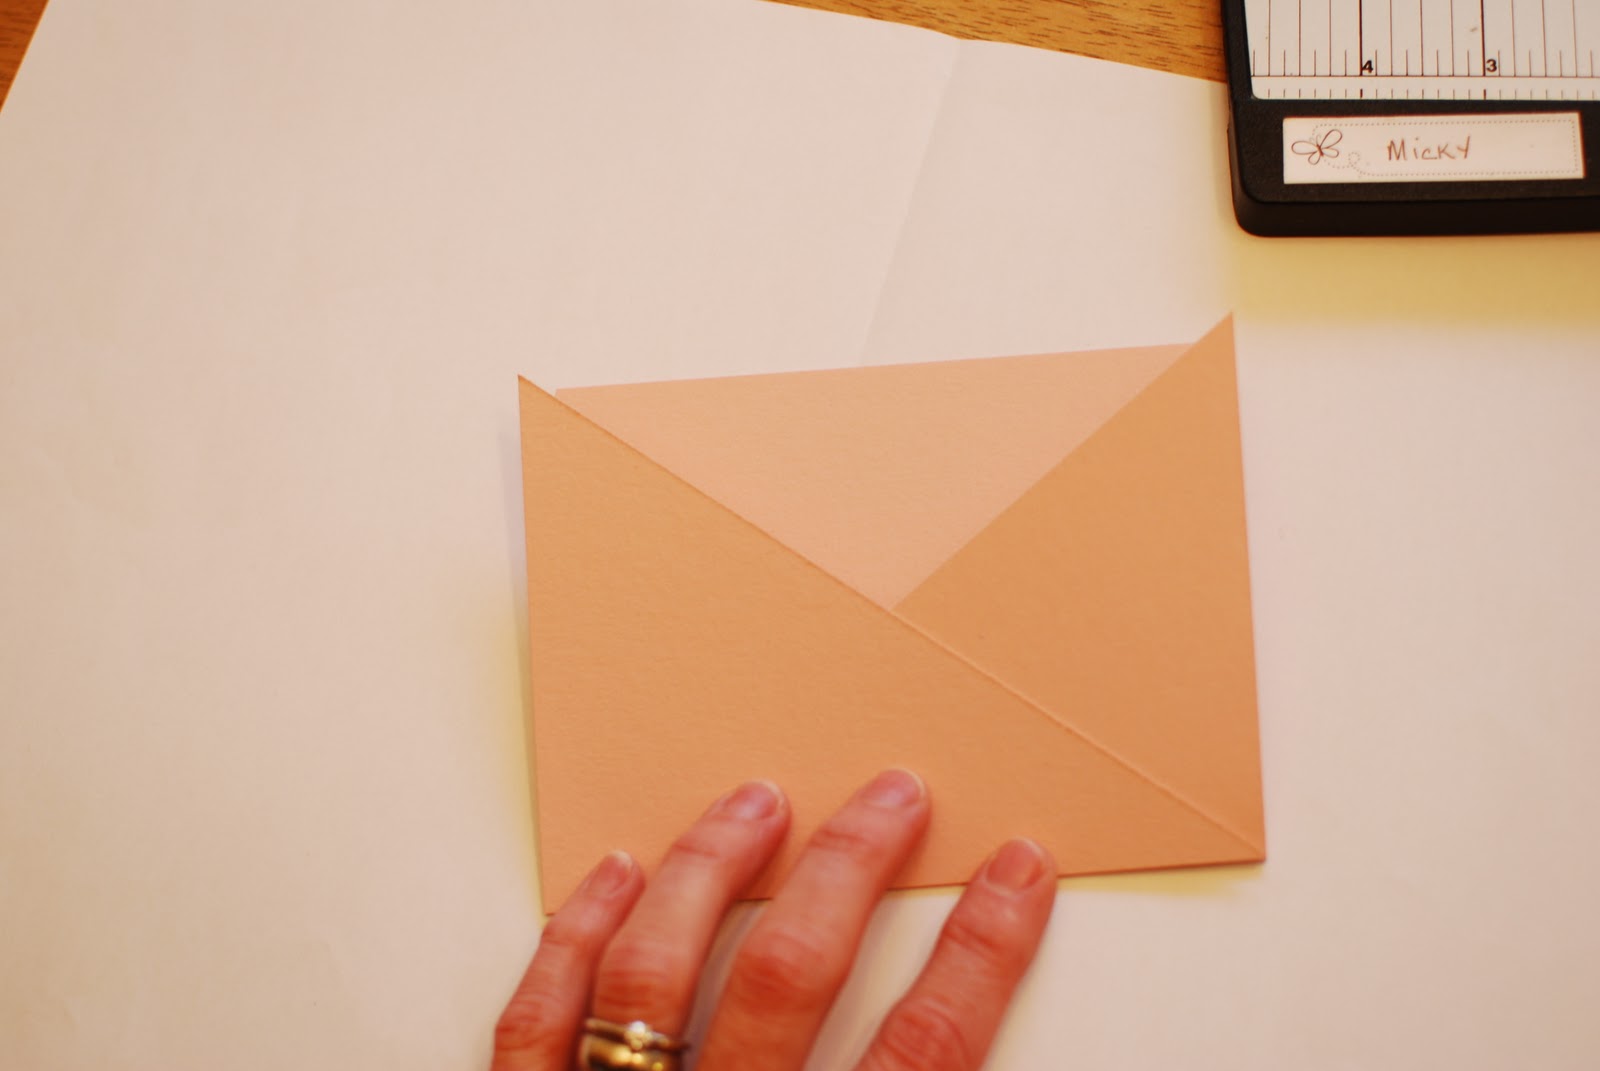
Now you can adhere your cut piece to the Base. I used Sticky Strip on the Right side, the Left side and Bottom only. Do not adhere the diagonal sides. You want the card to perform as a pocket.


This card was an invitation for a little girls party, so I added a flap with ribbon and made it look like a little purse. When you open it, you can take out the insert.
Flap:
5-1/2" x 3" Designer Paper
score at 3/4"
Add Ribbon for a handle
Adhere to back of card
Micky Seerveld
Stampin' Up!, Walworth, WI